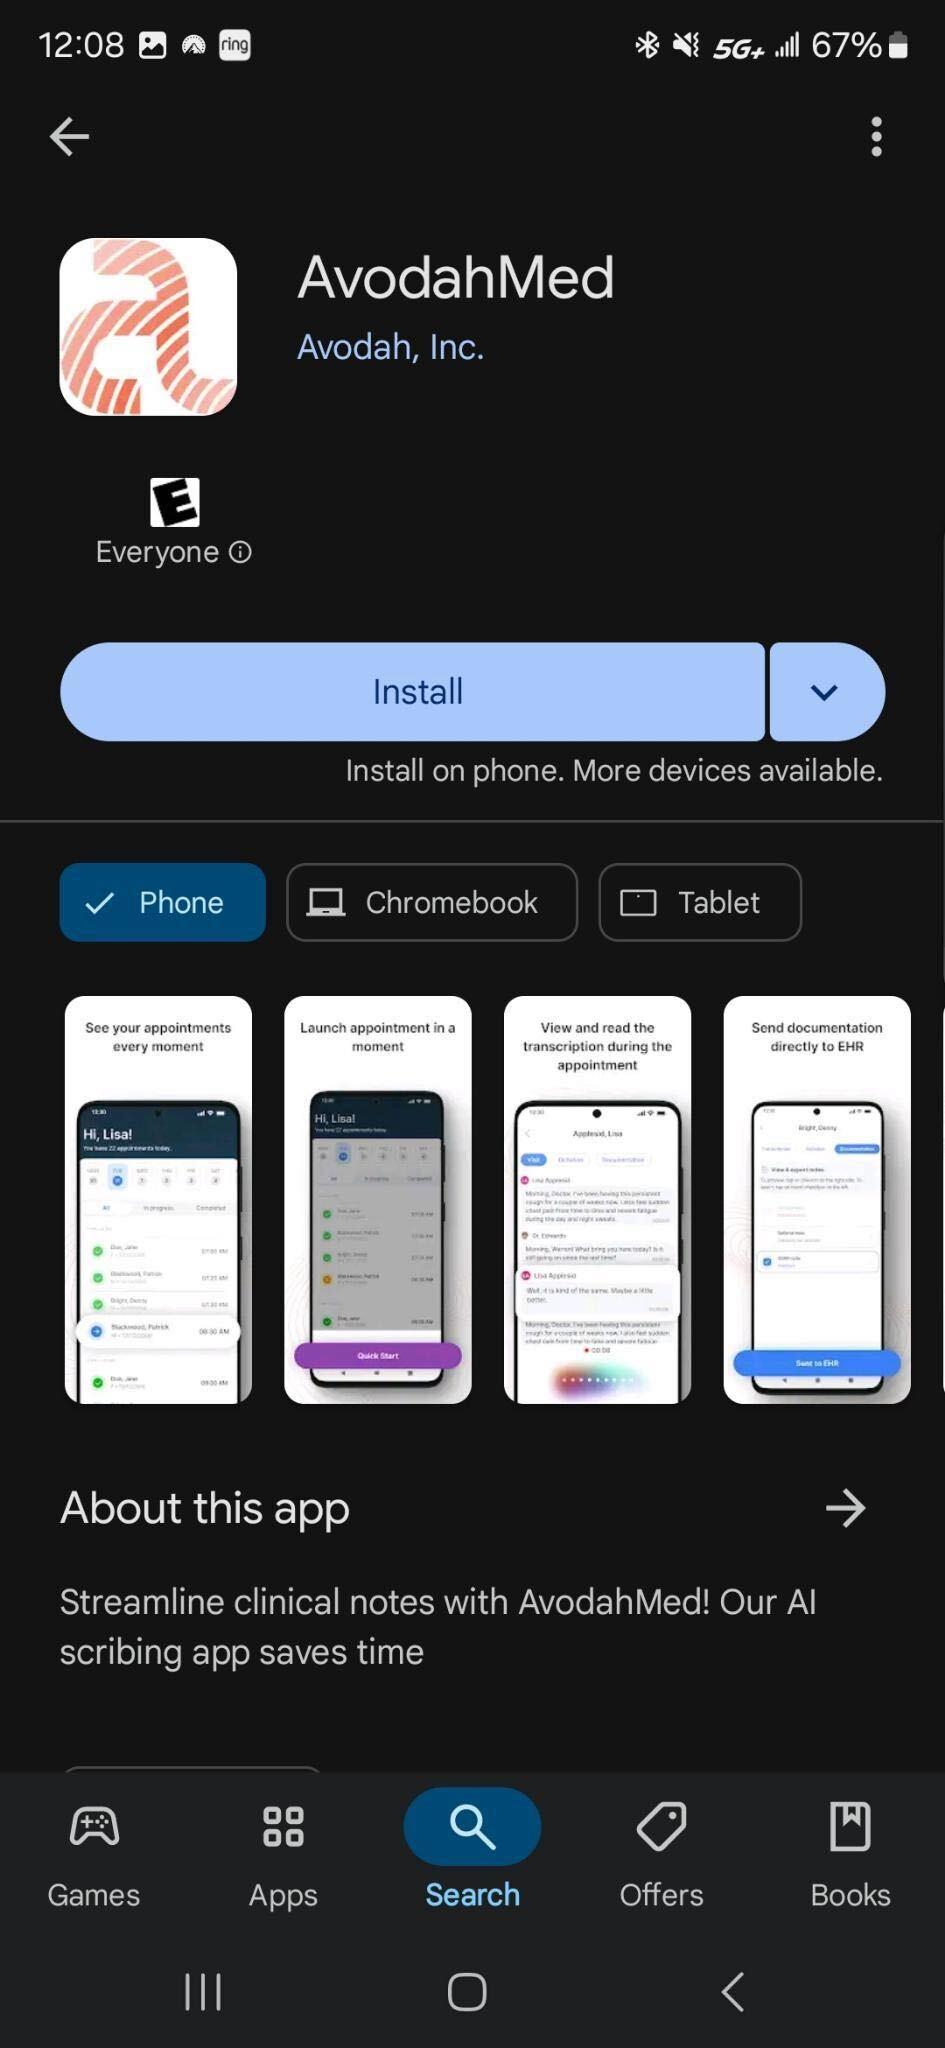
Our mobile application is now available in the Apple Store and Google Play Store! (This is the app that point to the production environment)
- On your mobile phone, please go to the application store. Search AvodahMed in either store and select "Get" or "Install."
- If you downloaded the application using TestFlight, you no longer need it and can follow these instructions to use/test the application. However, the Sales team will still need TestFlight to access the "AvodahMed Demo" app which points to the demo environment.
 Google Store
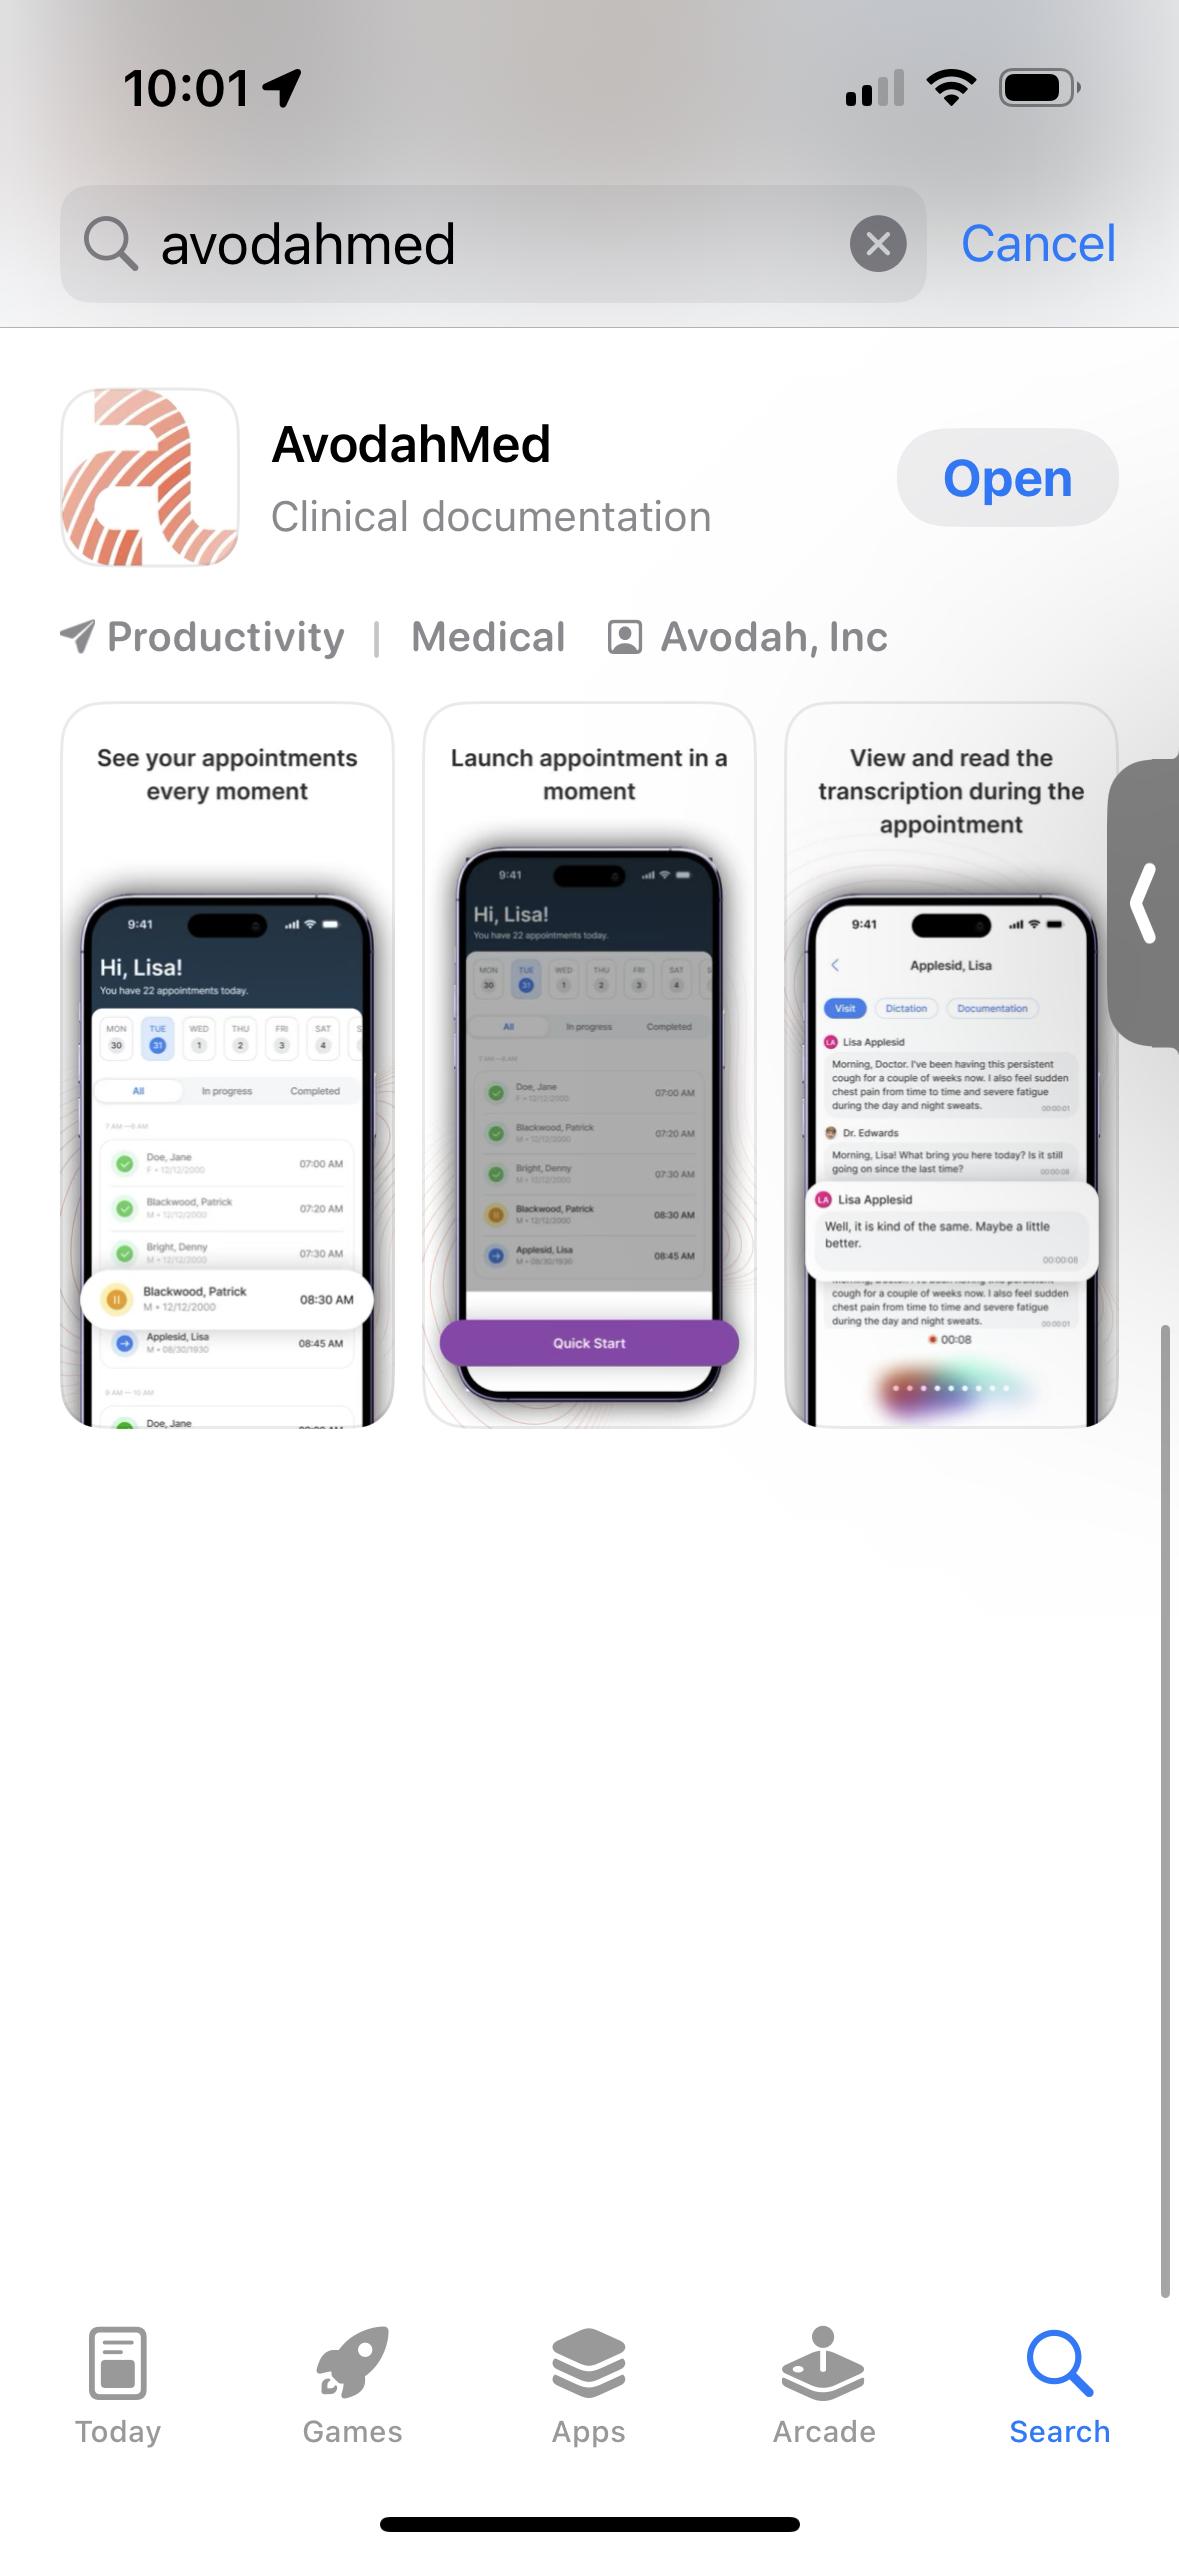 Apple Store
- Once the application is downloaded, locate it on your phone screen and open the app.
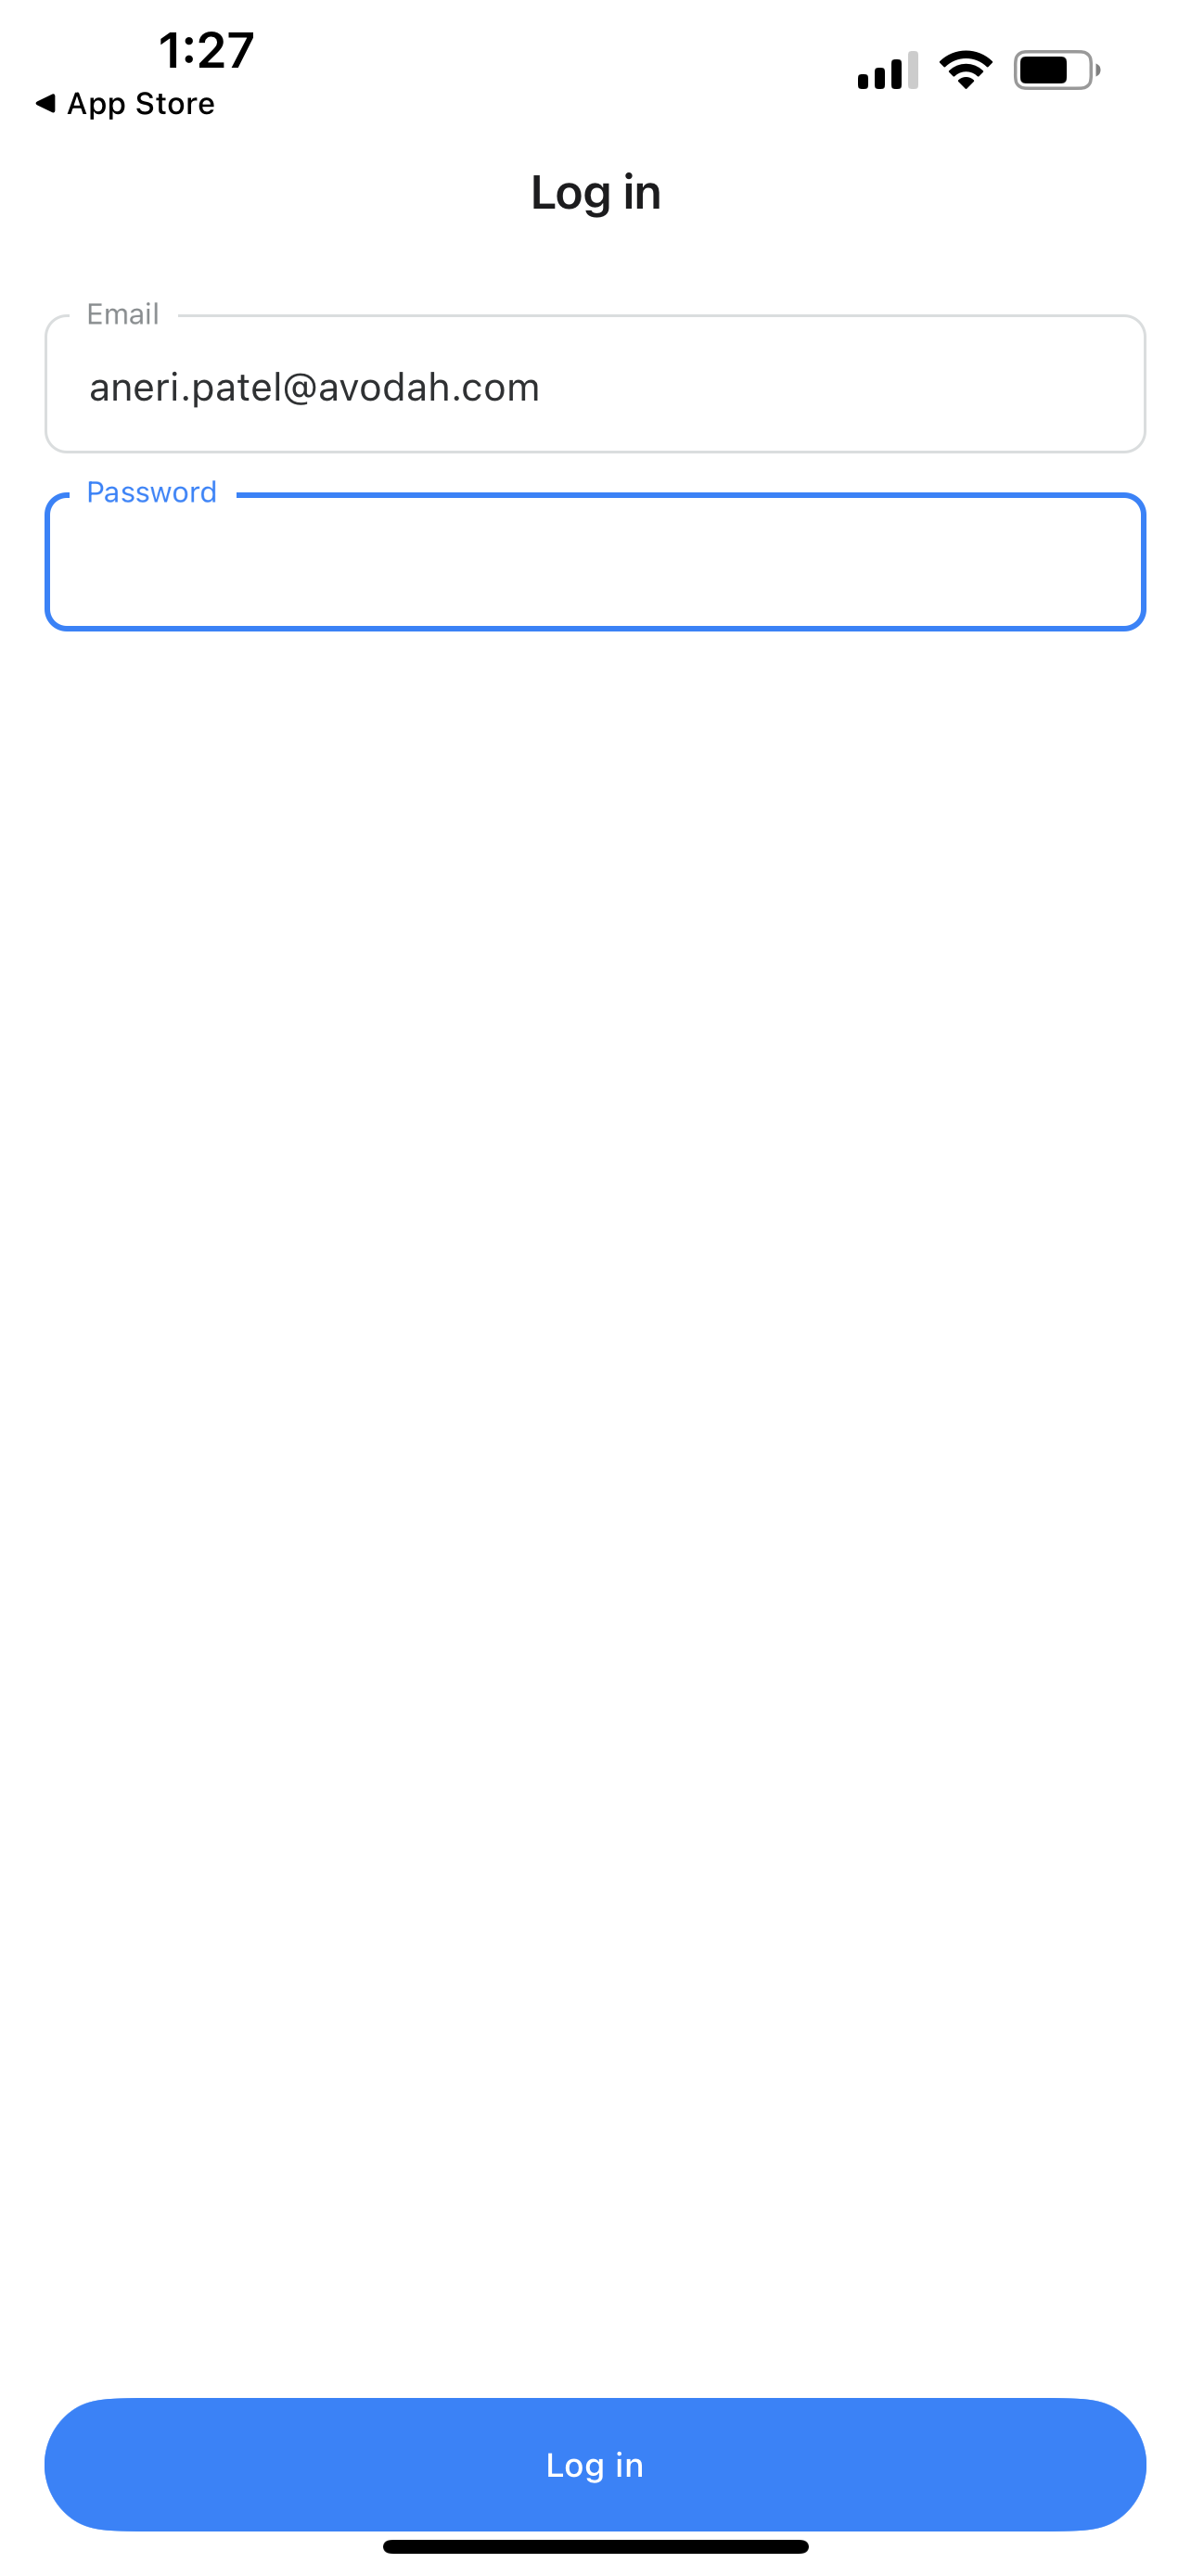
- When opened, you will be requested to login using your production credentials (same login information as the web application).
- Upon logging in, you will be asked to "Allow" access to your Microphone.
- NOTE: Make sure you enable or give permission for the app to access your Microphone for audio transcription. If you accidentally select "Don't Allow" you will need to navigate to your phone settings and enable the microphone permission for the app
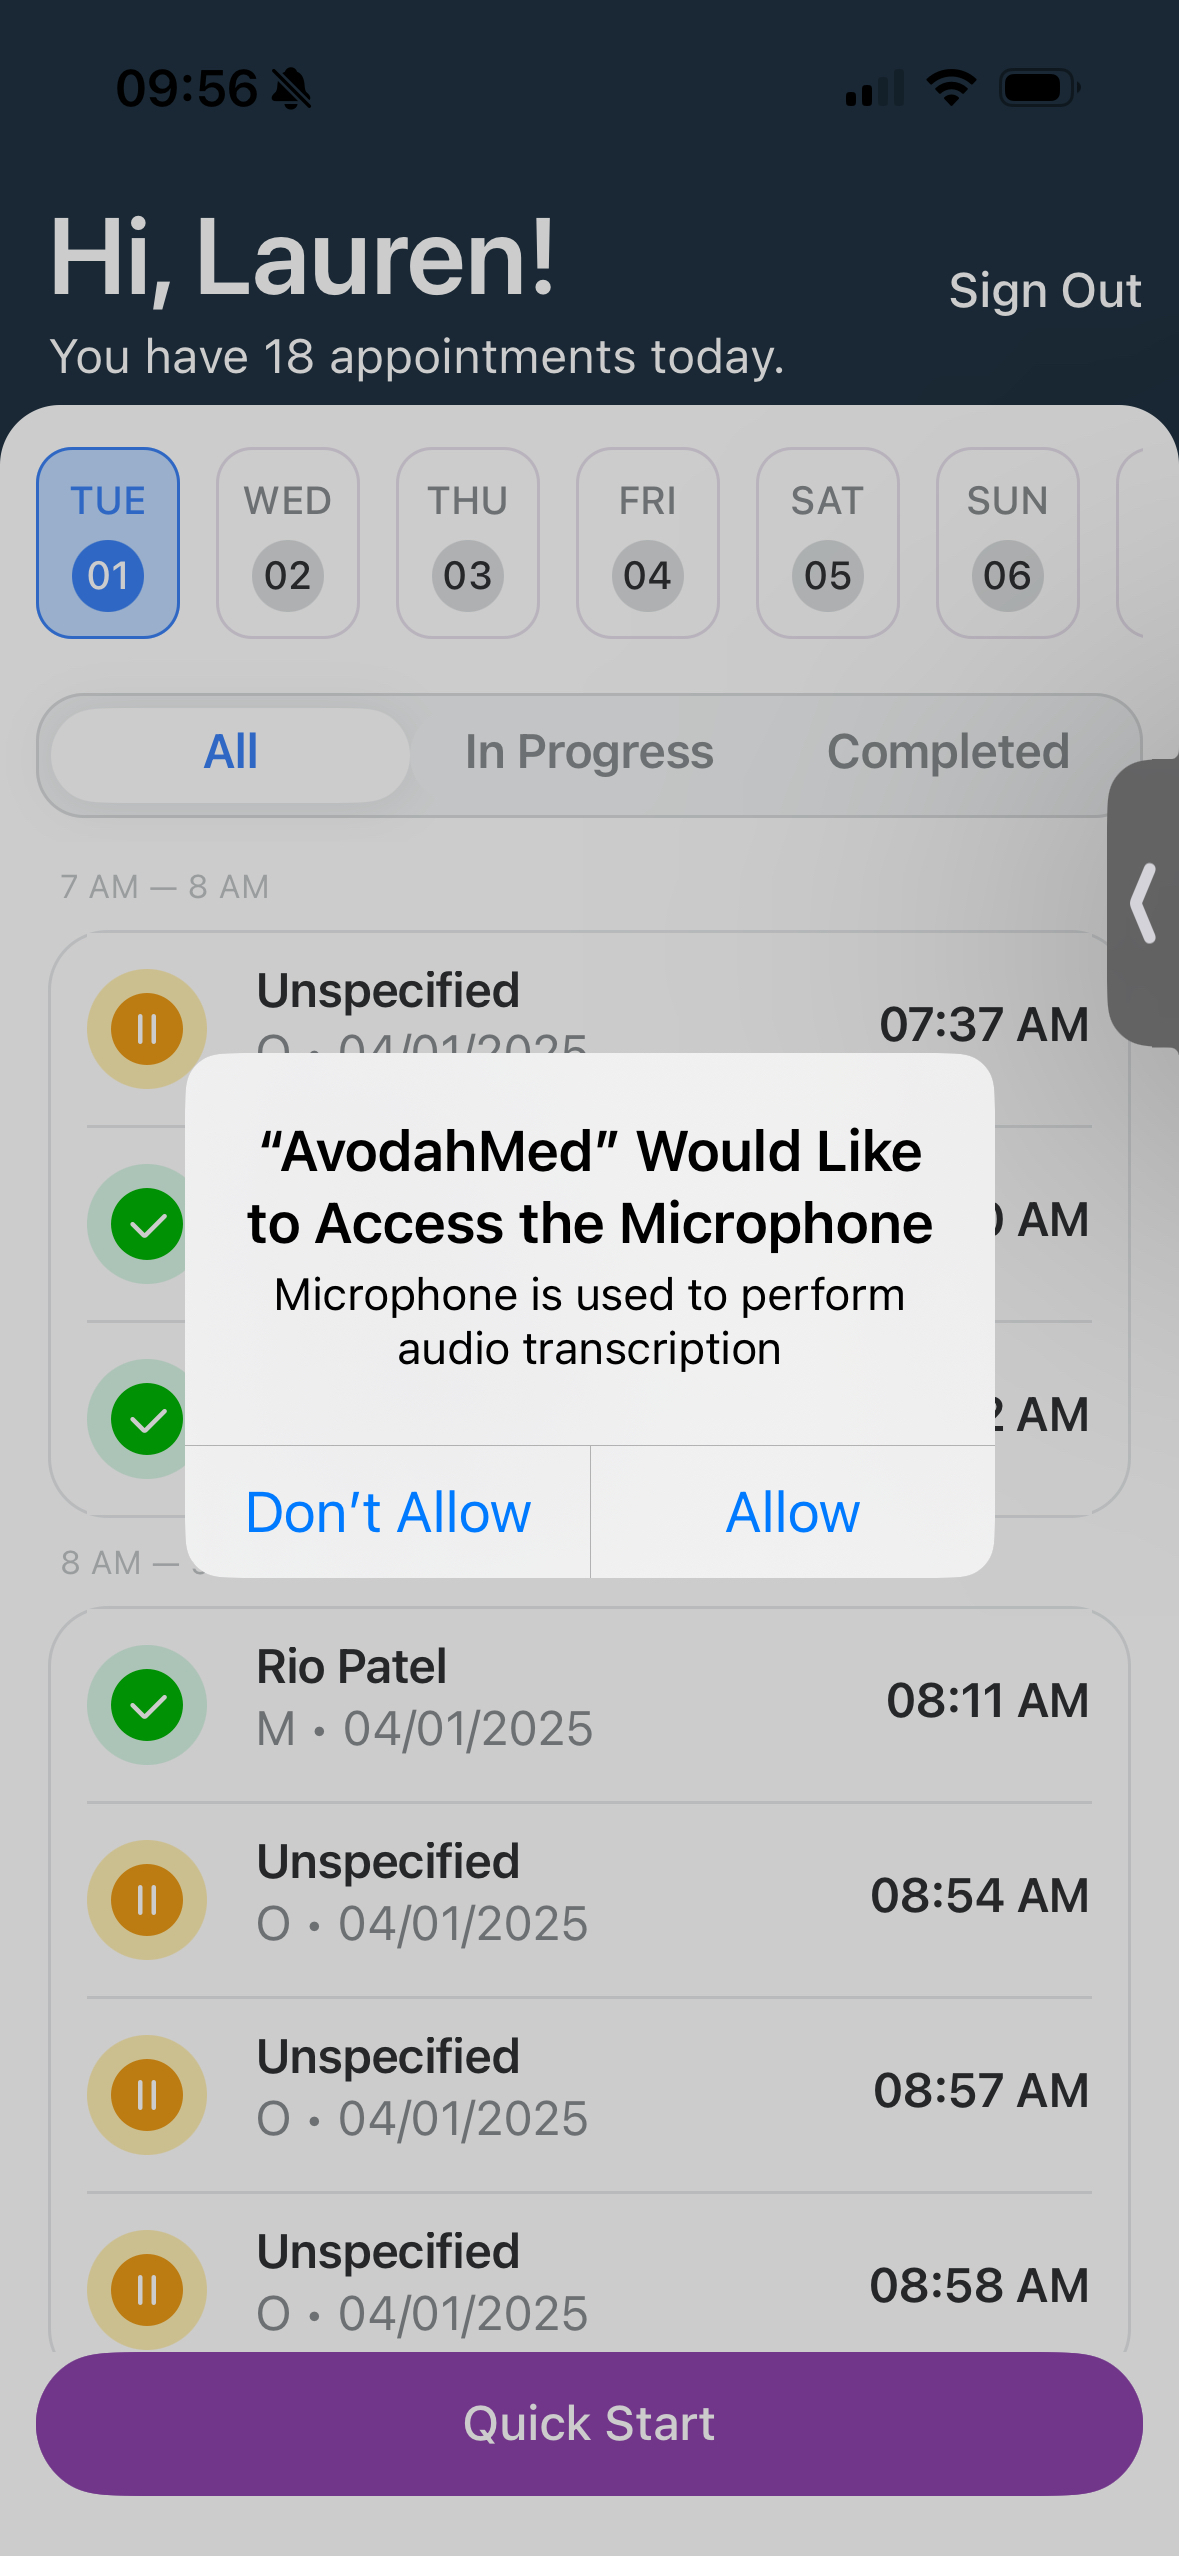
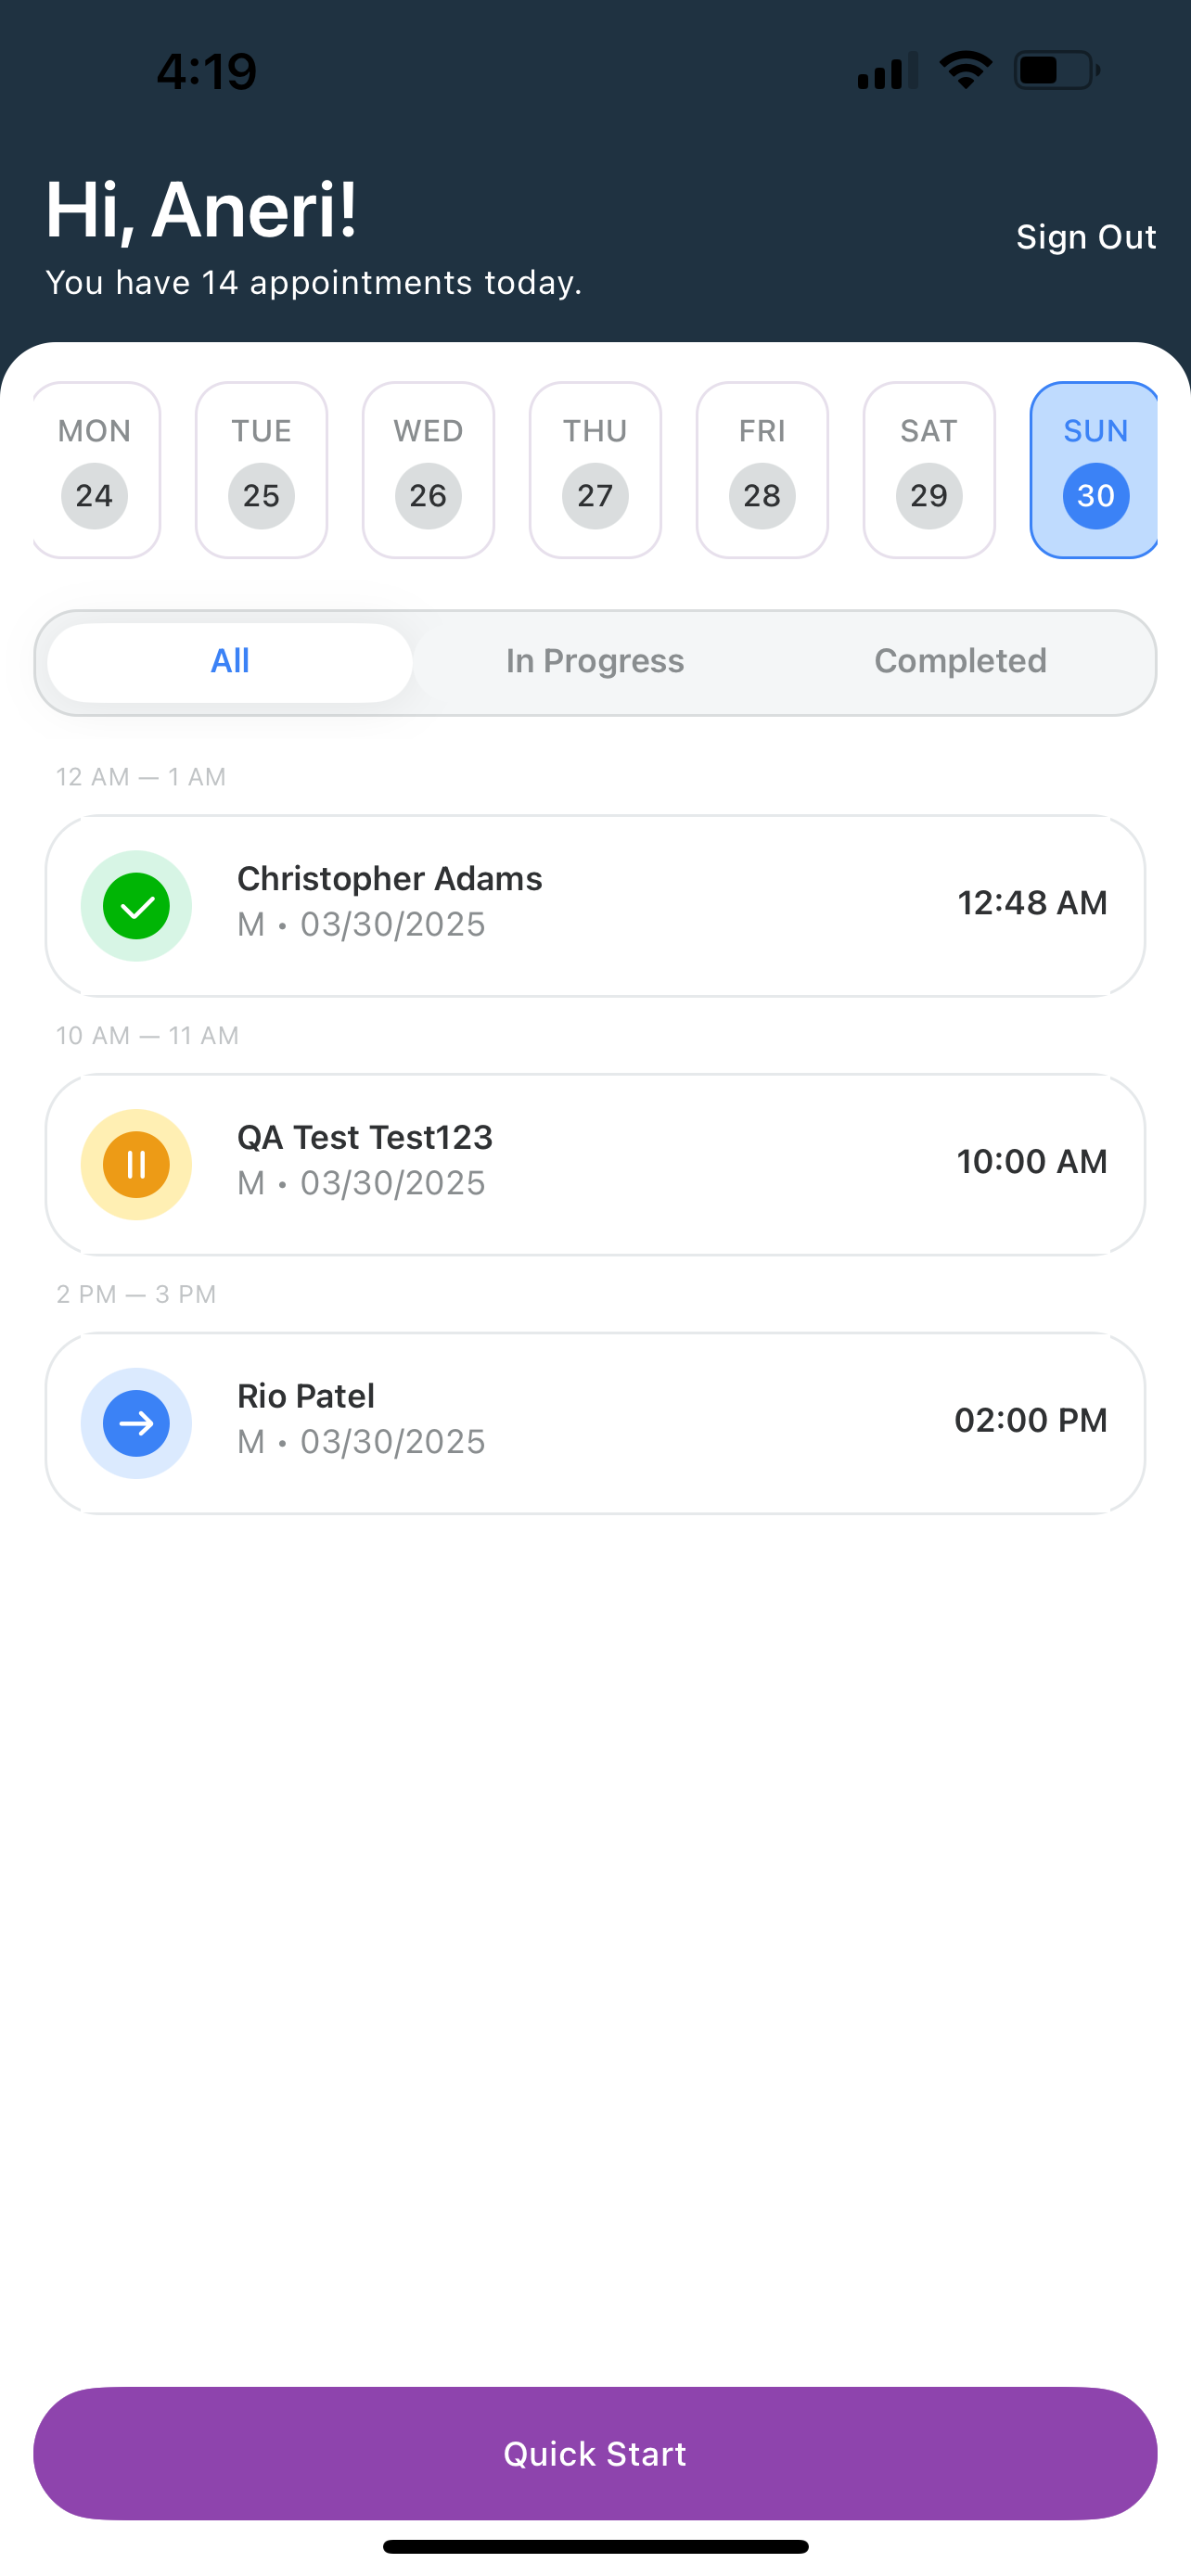
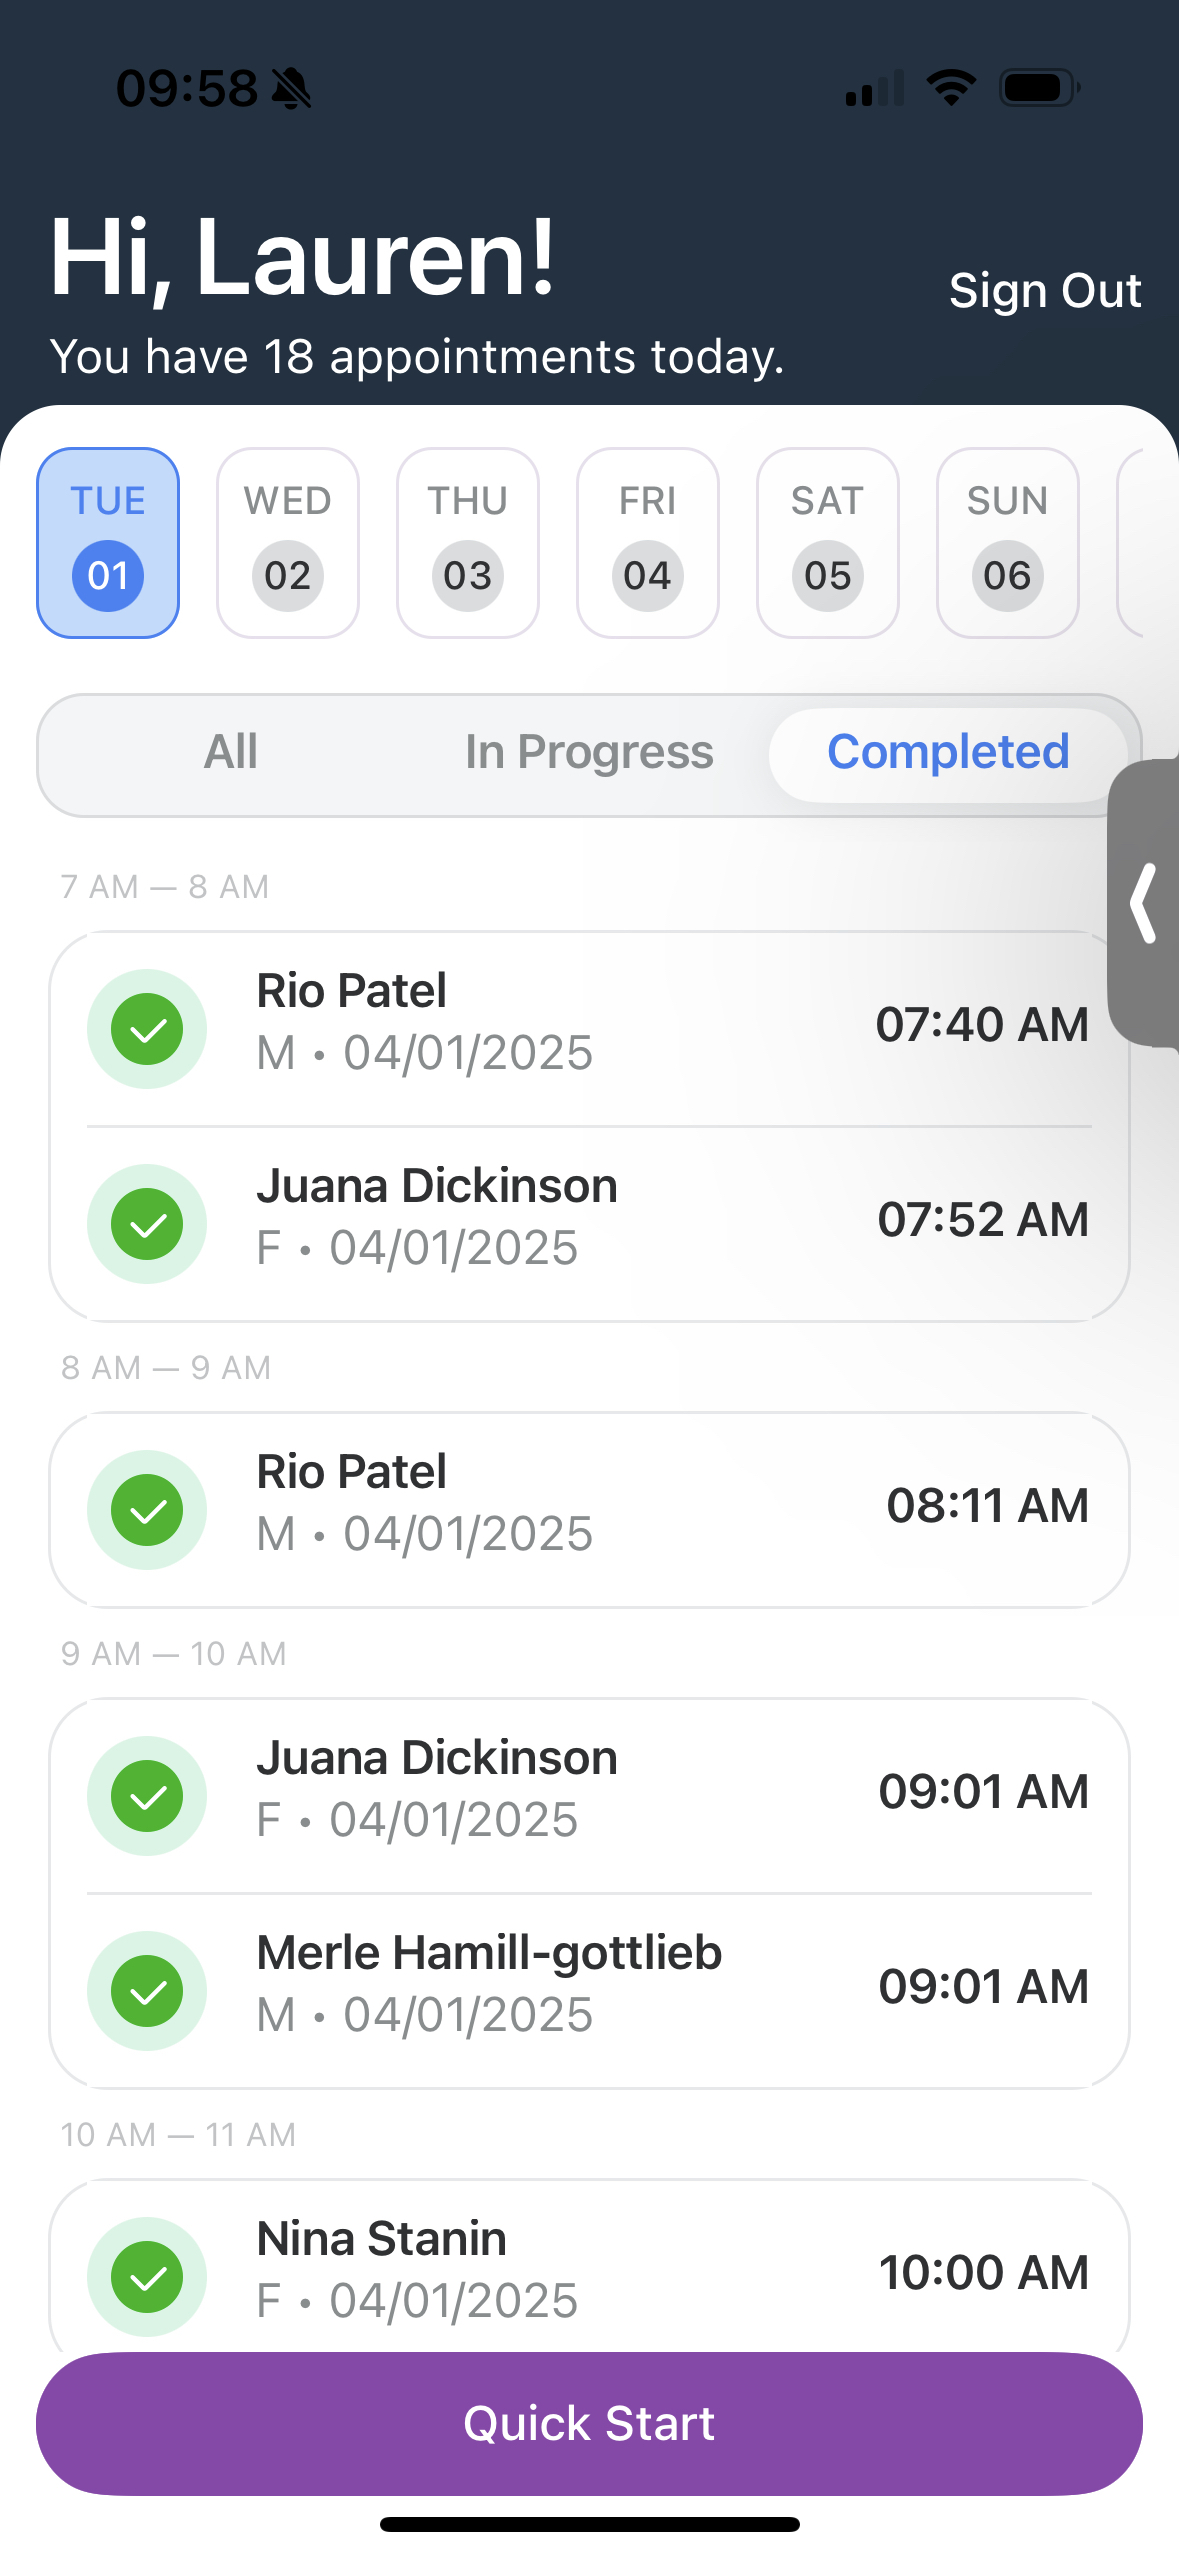
- Upon logging in, you will be directed to your dashboard.
- NOTE: As an internal user, you’ll need to create your "test" appointments in the web application, which will automatically sync to your mobile app screen. Alternatively, you can generate a "test" appointment using QuickStart.
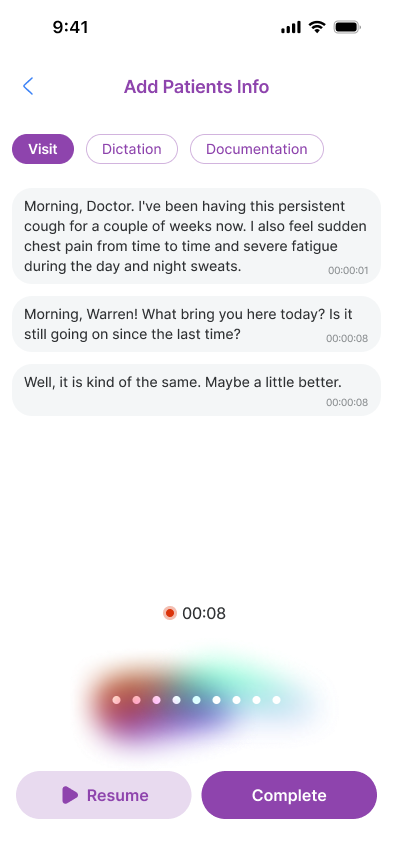
- Launching a QuickStart appointment follows the existing experience in the WebApp by immediately beginning the recording.
- Stay on the transcription screen during your visit to keep things running smoothly. If you leave the app, we’ll pause transcription to prevent any missed details – and you can pick back up when you return!
-
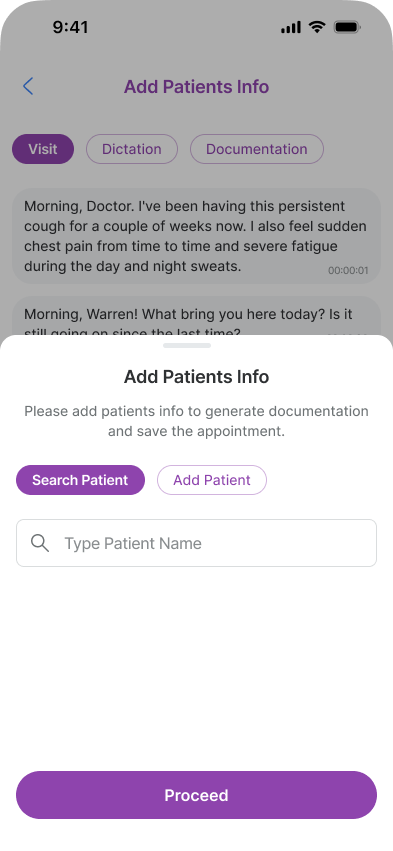
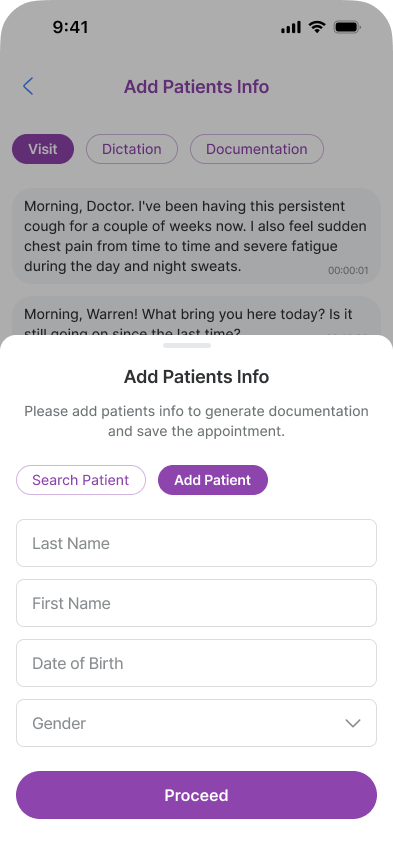
- Users must select a Patient before completing the transcription step of the QuickStart workflow.
-
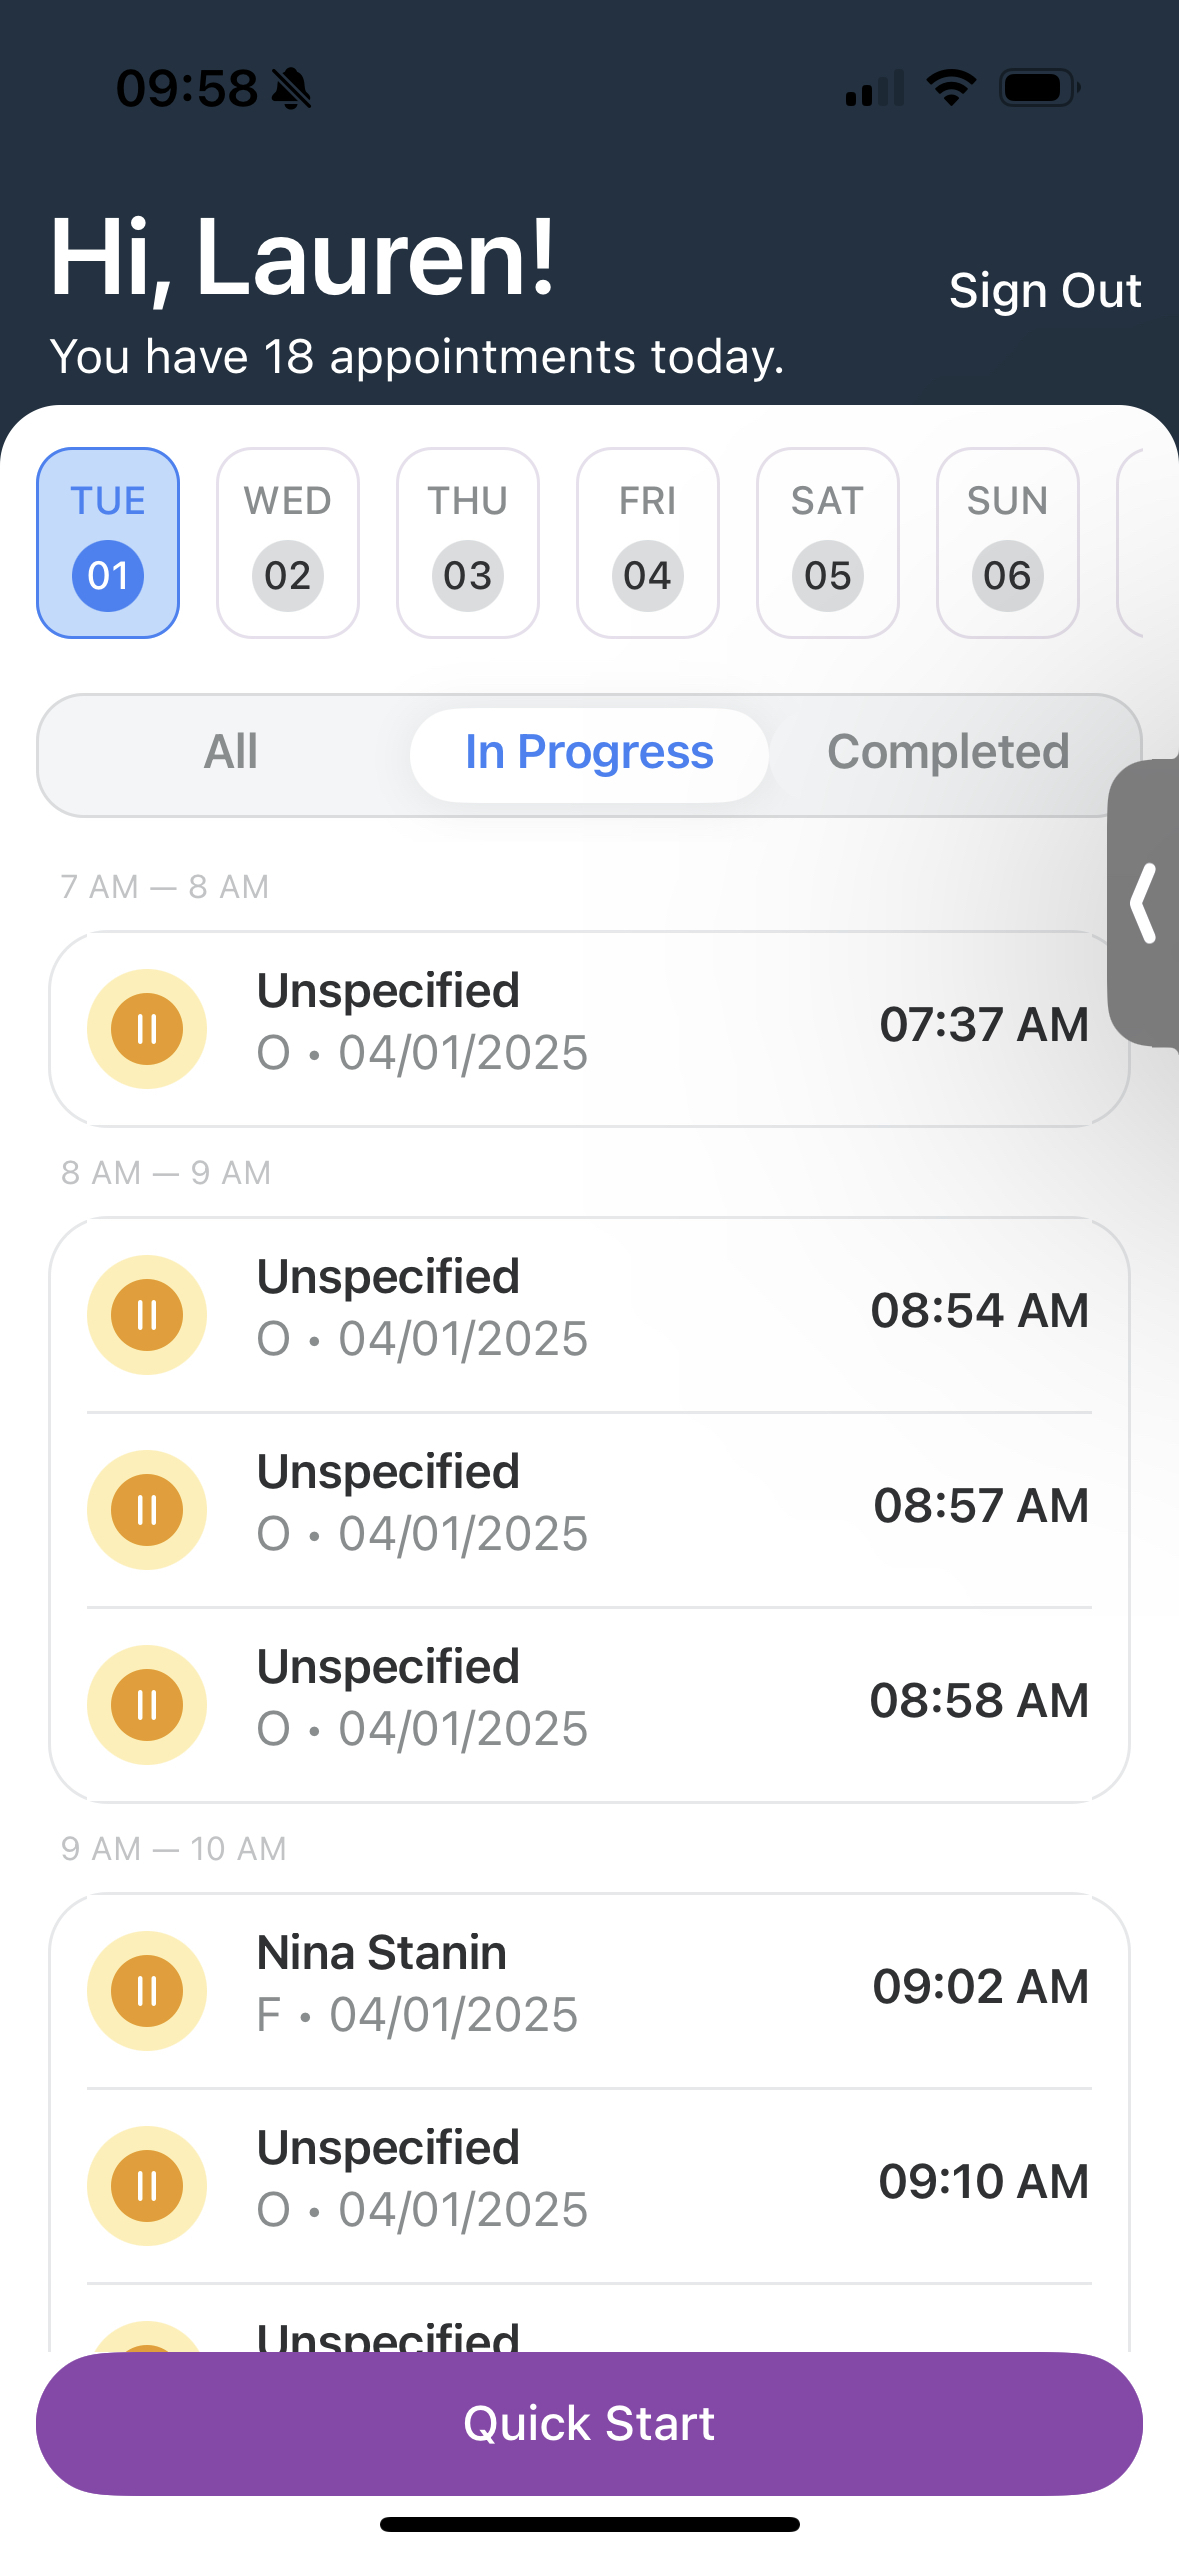
- Users can navigate between All Appointments, In Progress Appointments and Completed Appointments by selecting the appropriate tab.
-
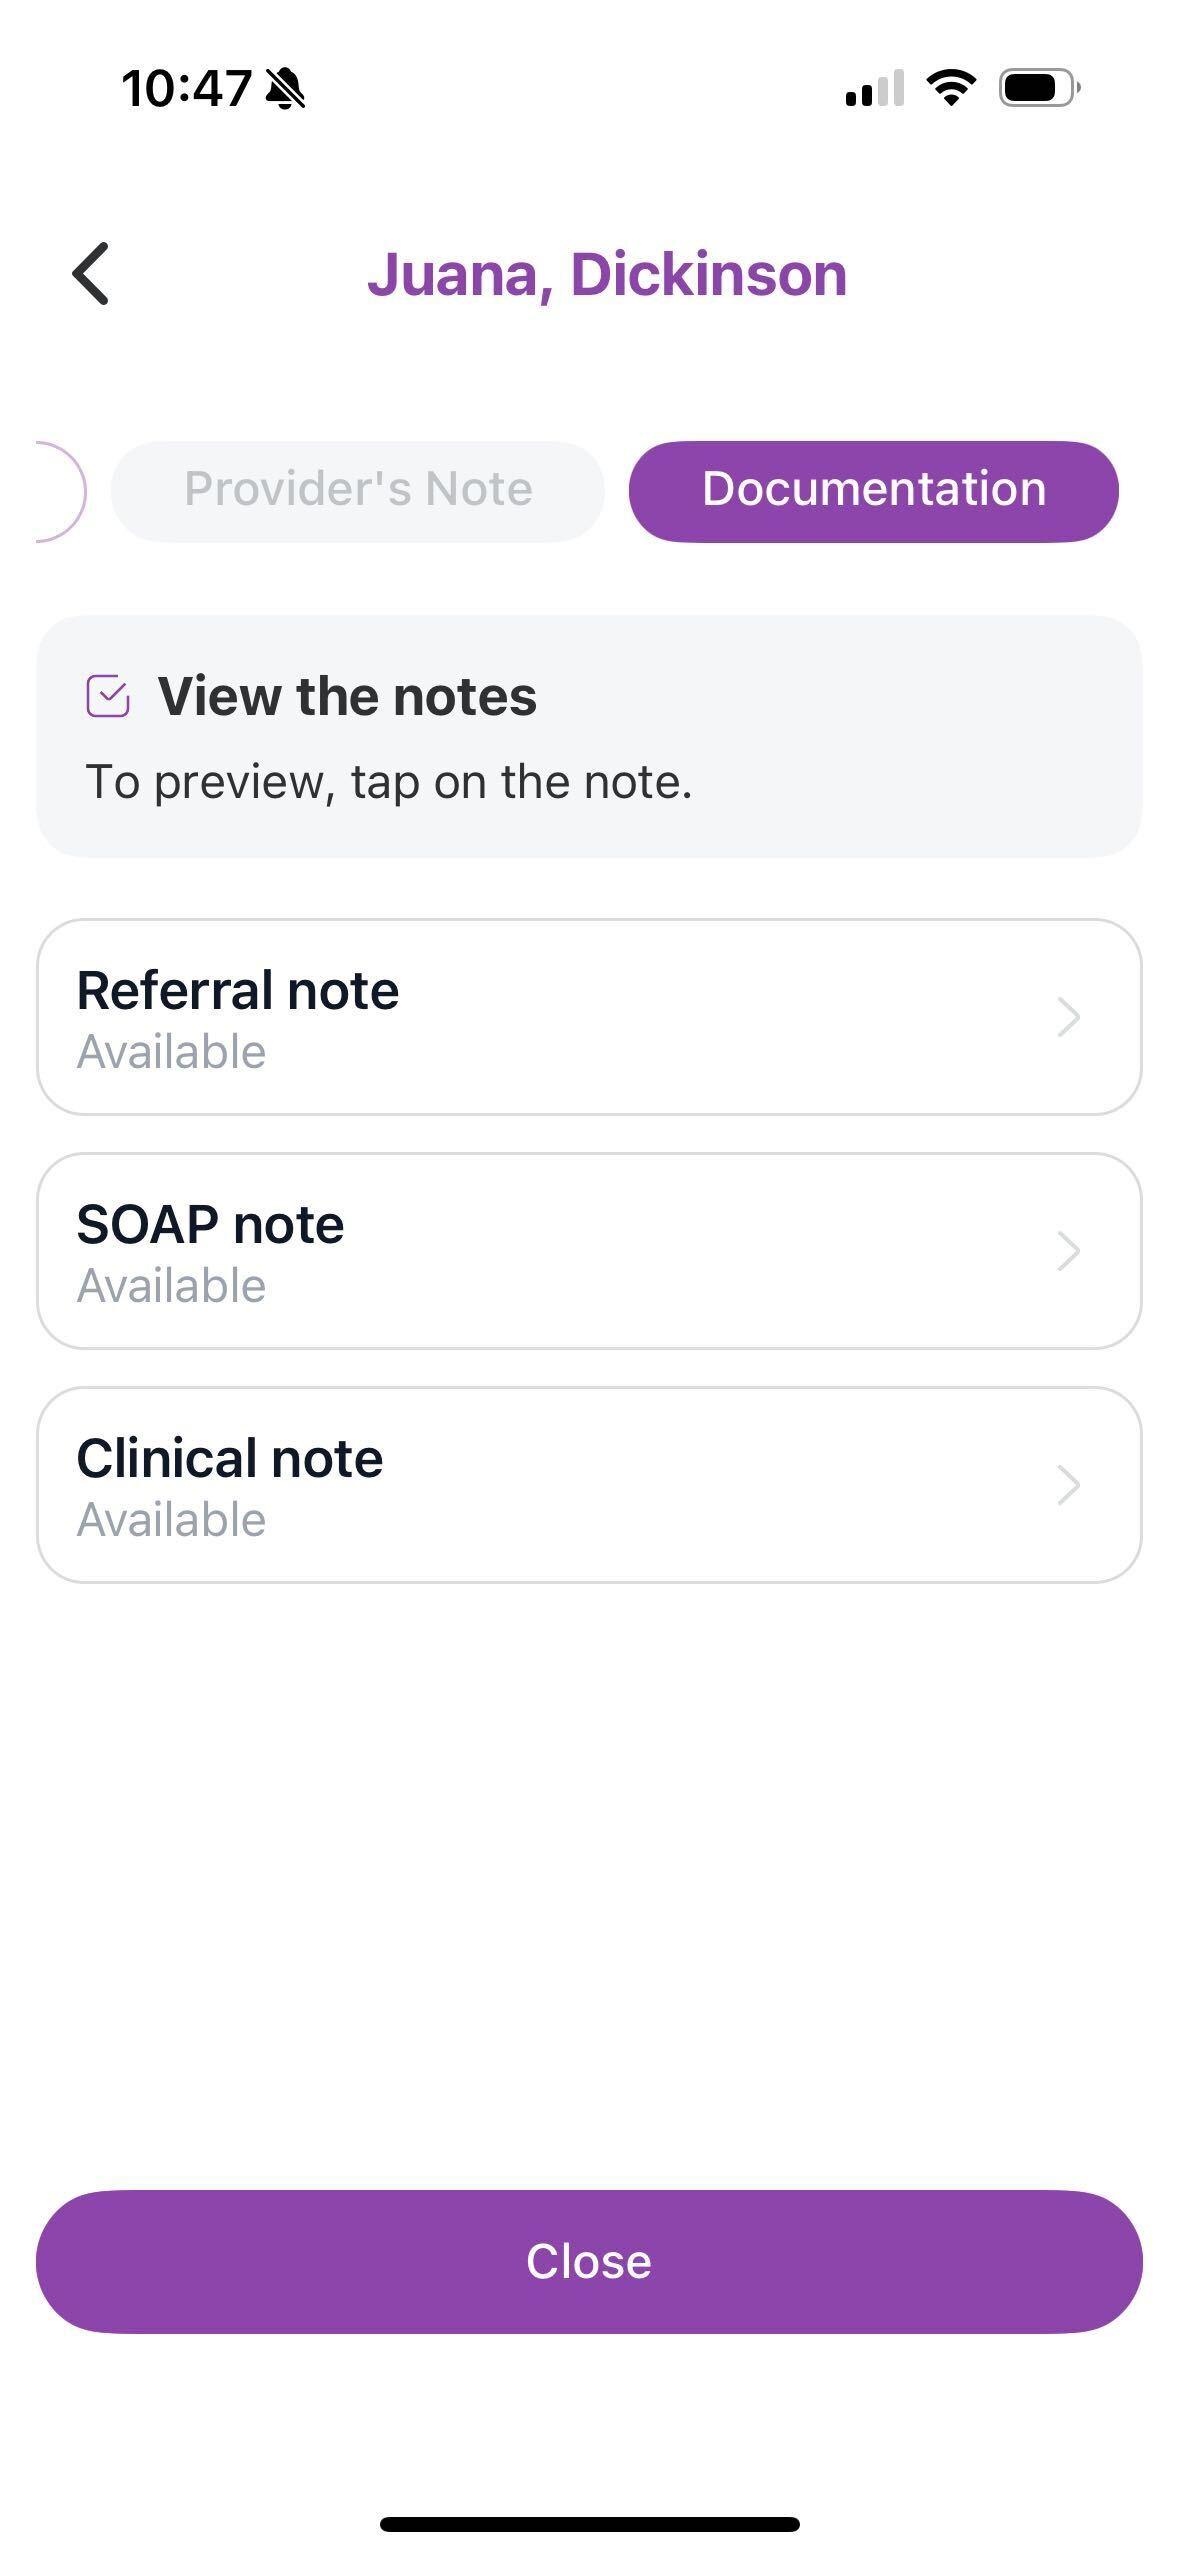
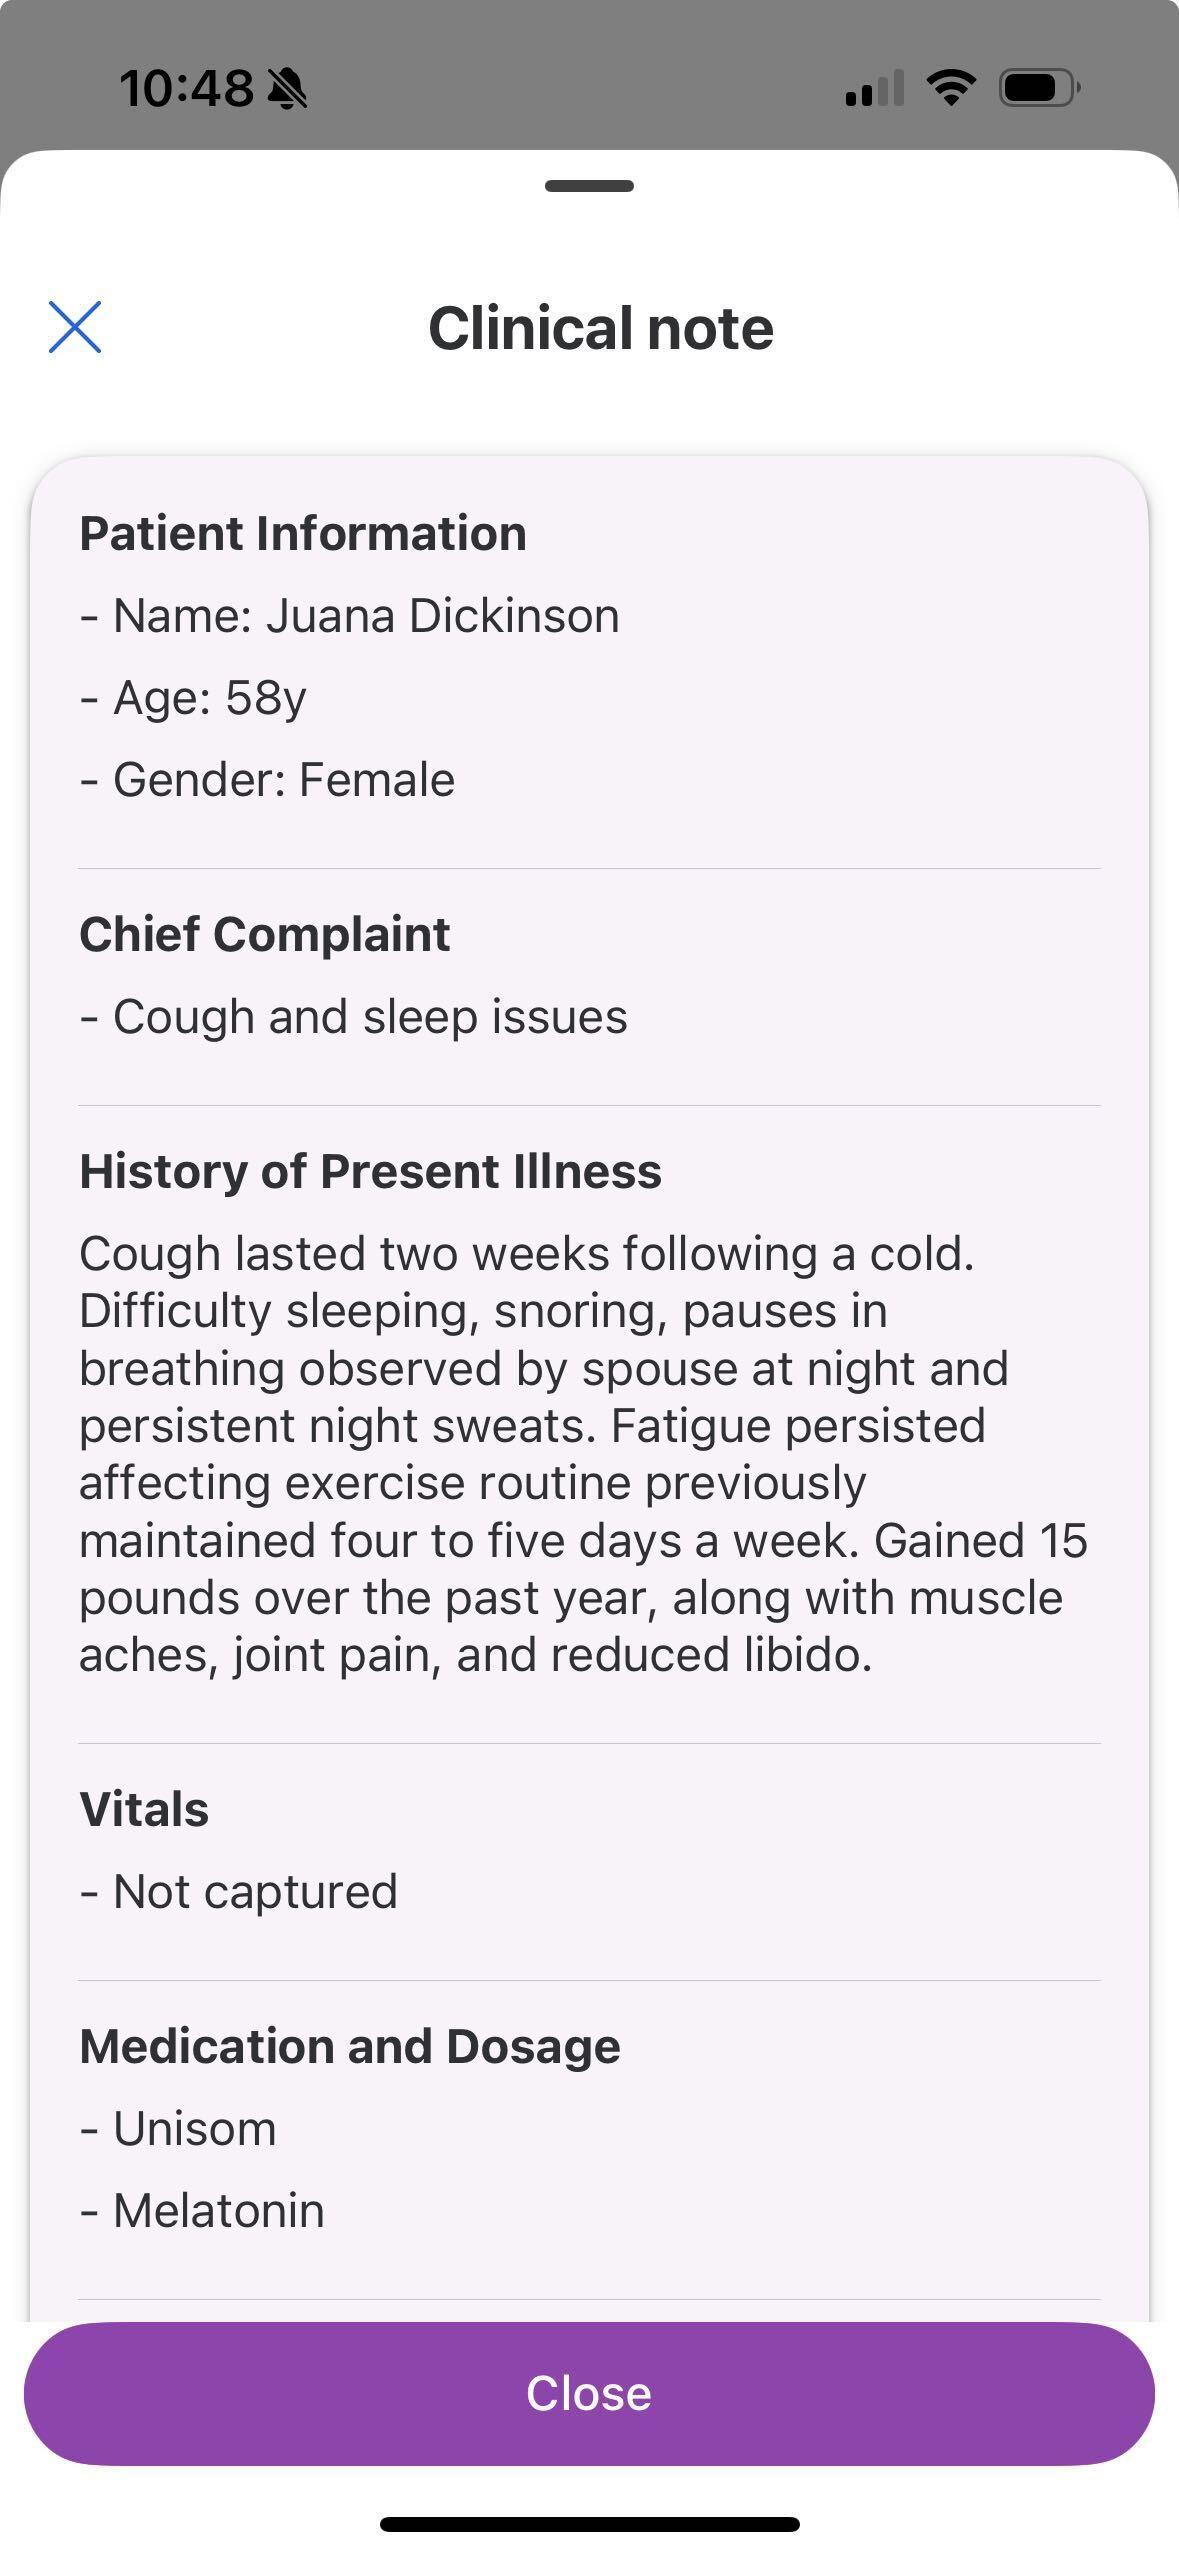
- NOTE: Users Cannot Edit Documentation in the Mobile App
- As an integrated customer, we pull your schedule from your EHR integration to ensure your appointments sync based on your calendar. Once documentation has been produced from an encounter you can select "Send to EHR,".
- If you are a Non-Integrated customer, when starting an appointment using "QuickStart," you'll need to copy and paste the note in the web application, just as a non-integrated customer would.
- Once an appointment is completed, users will see the documentation button inside the appointment. Users can navigate to previously completed appointments to view Documentation. For non-integrated tenancies, users can only View documents produced. You will not see a Send to EHR button.
- NOTE: Users Cannot Edit Documentation in the Mobile App